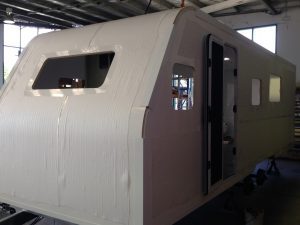
The order of installation of each panel may vary depending on your project type. It is important to attach the panel joiners correctly to each panel to ensure all components fit together properly. Work through each of the following steps of your project on paper first to ensure it will go together smoothly.
Remember to follow these steps required in the preparation of each panel here
Make sure you follow the appropriate Workplace Health and Safety guidelines at all times.
Below is the process for installing panels for a typical DIY Caravan build:
1. LHS wall
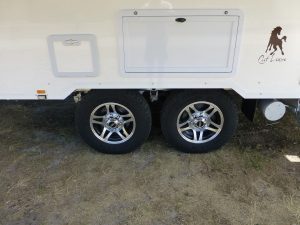
a. Attach Floor joiners only to the LHS wall.
- these will be attached to the chassis
- panel joiners may be mitred or trimmed for wheel arch location
b. Cut hole in LHS wall and install the entrance door (if applicable) while the composite panel is horizontal and supported on tressles.
- easier to clamp door in place
- can make sure door clearances will allow it to operate smoothly when vertical
c. Once the LHS wall panel has been lifted in place and secured to the chassis, also secure the wall vertically to a frame.
- frame may be a temporary timber frame or a steel frame depending on design and model.
2. RHS wall
a. Attach Floor joiners only to the RHS wall
- these will be attached to the chassis
- panel joiners may be mitred or trimmed for wheel arch location
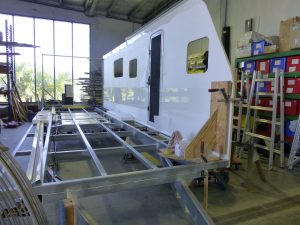 b. Once the RHS wall panel has been lifted in place and secured to the chassis, also secure the wall vertically to a frame.
- frame may be a temporary timber frame or a steel frame depending on design and model.
3. Floor panel
a.The floor panel does not have any joiners attached to it.
b.Floor panel may need trimming round wheel arches
- panel should have 3 mm gap next to both wall panels so easy to slide in from the rear
b. All chassis cross members, chassis rails and out-riggers to receive adhesive should be on same level.
- Apply adhesive to all surfaces
- Carry floor in before lowering it to the chassis
DIY Tip – Ensure adhesive is not applied to front and rear chassis cross members – floor joiner will slot in here when front and rear walls are installed – slide a 3mm spacer in once floor is in place.
c. Once in place use scaffold planks or similiar to cover the floor panel:
- spread the load evenly
- load with weights
- and avoid walking directly on floor panel as this will push adhesive out of the joins.
4. Roof panel
a. If your roof panel has insertions such as pultrusions or trunking for wiring it will need preparing first.
- Lay the panel such that the A side is downside (on the tressles).
- Cut holes and prepare the roof panel for AC unit, roof vents etc if applicable.
- For wiring required for ceiling lights, vents and / or Air Conditioner units install the correct wiring inside the trunking with 30cm hanging out.
 Run each length of wiring along the edge of panel (you will need to rout out small 1cm wide channel) and then back through a ‘roof entry point’ for that appliance.
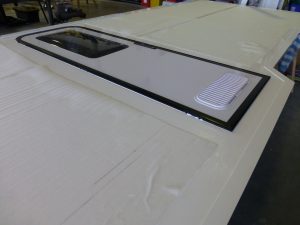
- Each wire may have a different roof entry point (may be 50 – 100 mm inside the panel edge) depending on which cabinet or location you want it to enter the van. See image with example.
- Along the edge of the panel secure the wiring in the slot with masking tape so it does not get in the way when installing roof panel joiner.
DIY Tip – Take care to be sure which side of panel is the roof and which is the ceiling when cutting hatch holes – mark with a white board marker.
b. Attach roof joiners to roof ensuring they are correct way round to fit over the walls. Also ensure that they are in correct location for the rear wall panel joiner to ‘butt’ up to.
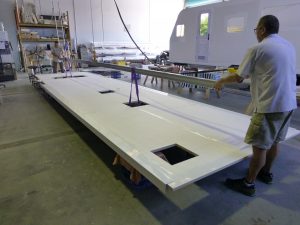 c. Once panel joiners have been installed the roof panel will be relatively rigid and can be carefully installed with a lifting machine such as a forklift. Supports such as plasterboard lifters may be required to support the roof while the forklift tines are removed. Plaster board lifters also allow you to lower the roof carefully under control.
Alternatively a hoist in the roof is more suitable for larger panels.
DIY Tip – Once the roof is in place ensure the rear (and front) end is perfectly square – for the rear (and front) wall to be installed. If necessary secure with props.
5. Front wall
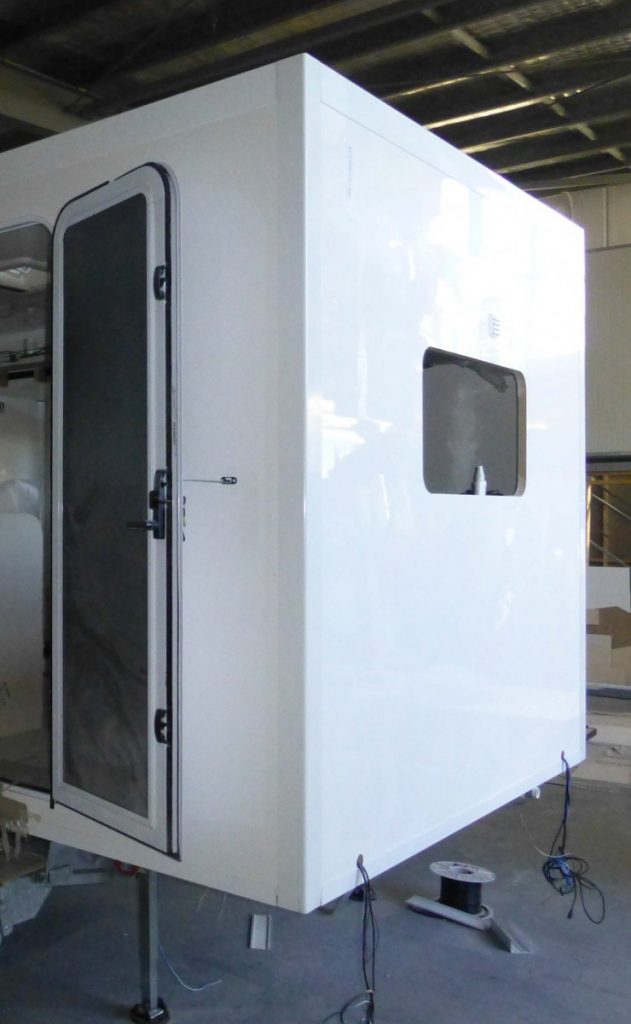
a. Whether the front wall is a separate panel or is part of the roof panel and rolled down, the panel joiners should be attached to the front panel such that as it is lowered in place, the panel joiner slides over the LHS and RHS wall panels in the same way as occurred on the roof.
b. Install a length of 10mm spacer around the ‘radius’ arcs between the panel joiners.
c. At the base of the front panel, the floor joiner should be attached such that it slides between (with adhesive) the front chassis cross member and the floor panel as the front is installed.
DIY Tip – It is better to cut the lower edge of the front wall 5mm short than have it ‘pushing off’ the curved panel when you install it.
d. DIY rolled roof trim kits are available to complete the front panel installation.
6. Rear wall
DIY Tip – Ensure all large items such as the walk in shower cubicle are inside before installing the rear wall.
a.Preparing the rear wall is different to all other panels. For other panels we did a dry fit and then installed the panel joiners the day before installing the wall so they could not move when we installed the wall.
b. For the rear wall prepare the panel joiners for all 4 sides. Note the 2 vertical panel joiners should go to the very top and bottom of the shell for a neat finish. Corner caps are available to seal and finish the top off.
c. Install any 12 volt wiring required for the tail lights such that one end is at the light location and the other end is accessible at the bottom of the panel between the chassis rails.
d. Finally install all 4 panel joiners to the rear wall and install the wall to the van while it the adhesive is still wet. This way the panel and joiners can move slightly to fit the aperture you have. Take care to carry the wall from the bottom as the side joiners will move.
DIY Tip – Put timber props under the vertical joiners to avoid them ‘slipping’ down.


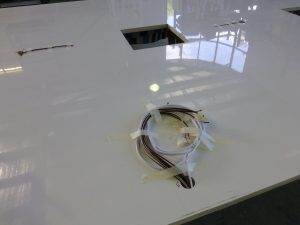 Run each length of wiring along the edge of panel (you will need to rout out small 1cm wide channel) and then back through a ‘roof entry point’ for that appliance.