Do I need to use Fixtech Primer on Floor A?
Fixtech Polypropylene primer is required if you are using adhesive or paint directly onto the polypropylene surface – such as with Holypan natural.
Floor A has a flowcoat finish on the B side and a clear resin finish on the A side so there is no need for the primer with this product. Surfaces will still need to be prepared prior to the application of the adhesive as usual.
How to choose the correct Fixtech adhesive for my project
The Fixtech range of high quality construction adhesives are second to none. From a practical point of view to select the right one for the job each Fixtech adhesive can be considered in terms of its
- Tensile strength
- Skin formation time
See summary table below
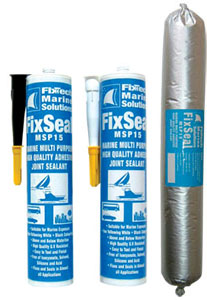
| MSP 190 | MSP 190 HT | MSP 15 | |
| Tensile Strength (equivalent to) | 3.6 MPa 36 kgs per cm2 | 3.6 MPa 36 kgs per cm2 | 22 kgs per cm2 |
| Skin Formation (23C and 75% RH) | 45 mins | 12 mins | 15-30 mins |
So for structural items eg gluing the panels to the chassis or panel joiners we need maximum strength and maximum cure time – it takes time to apply the adhesive , assemble the items exactly as you want them, clamp everything in place and wipe clean all the excess adhesive. Note the temperature and Relative humidity on the day will also affect the skin formation time. Ideal adhesive is Fixtech MSP190.
For non-structural items and items you may one day need to remove such as doors and windows Fixtech 15 is ideal. You do not require so much time and if you ever need to cut the adhesive out you will be pleased you did not use Fixtech 190.
Fixtech MSP190 HT – which stands for Hi Tack – has all the strength of MSP190 but cures much quicker. So if you are wanting to assemble many parts in a day this will be fine if you can clean up swiftly as you go.
How much Adhesive will I need for my project?
The ideal bond thickness for maximum adhesion is 1-2mm. Some customers are more frugal with adhesive than others. If adhesive is used correctly it is akin to welding steel – the surfaces will not come apart. Many projects are built without bolts and screws – relying solely on adhesive throughout.
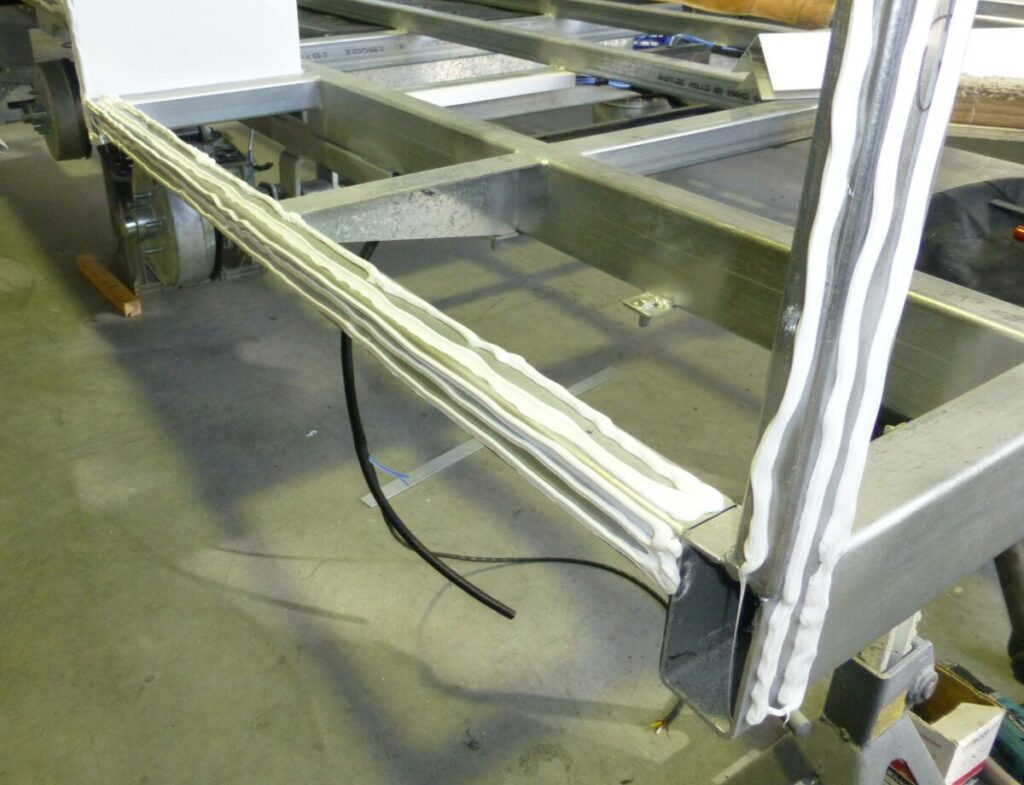
So for joining structural items the goal is to apply adhesive such that when it is clamped in place the beads flatten to a 1-2 mm thickness over a significant area.
For a 6 meter caravan build including the internals most customers use 1-2 boxes of MSP190 sausages and 1 box of MSP15 sausages – or the equivalent in cartridges.
We recommend you buy a box of sausages to get the 5% discount and once you have used half of it you will know if you will need more sausages and how many.
How to get the best performance from my adhesive
A good start is to read the Technical Data sheet of the Adhesive you intend to use – eg For MSP190 it advises storing between 5 degrees and 23 degrees C so take care not to leave the adhesive where it will get warmer than this.
The golden rule is that any adhesive will only be as good as the preparation of the surface it is bonding to. Most adhesives require the surface to be ‘roughed up’ with sand-paper and then wiped clean with methylated spirits.
Fixtech adhesive provide an Application Guide which should also be adhered to. They talk about compatibility tests – by far the best advice is to do a test with offcut material such as your window cut-outs – If after 24 hours you can pull it apart then it was not done properly.
There is also detailed guide here for preparing your composite panels for adhesive.
How to apply adhesive to the panel joiners
When sliding a composite panel into an aluminium joiner the goal is to create a bond between 1-2 mm in thickness. For this reason the DIY panel joiners have 1 mm nibs on them to spread the adhesive as you slide the panel in.
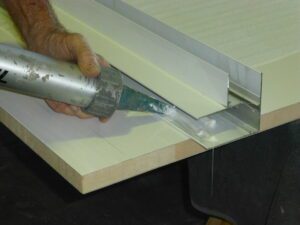
Beads of adhesive can be applied to both the inside of the joiner and the panel itself to create an even spread without pushing any adhesive past the ‘stop’ in the bottom of the joiner as this is wasted. Again best to test a small sample of panel and joiner and find a process that works for you.