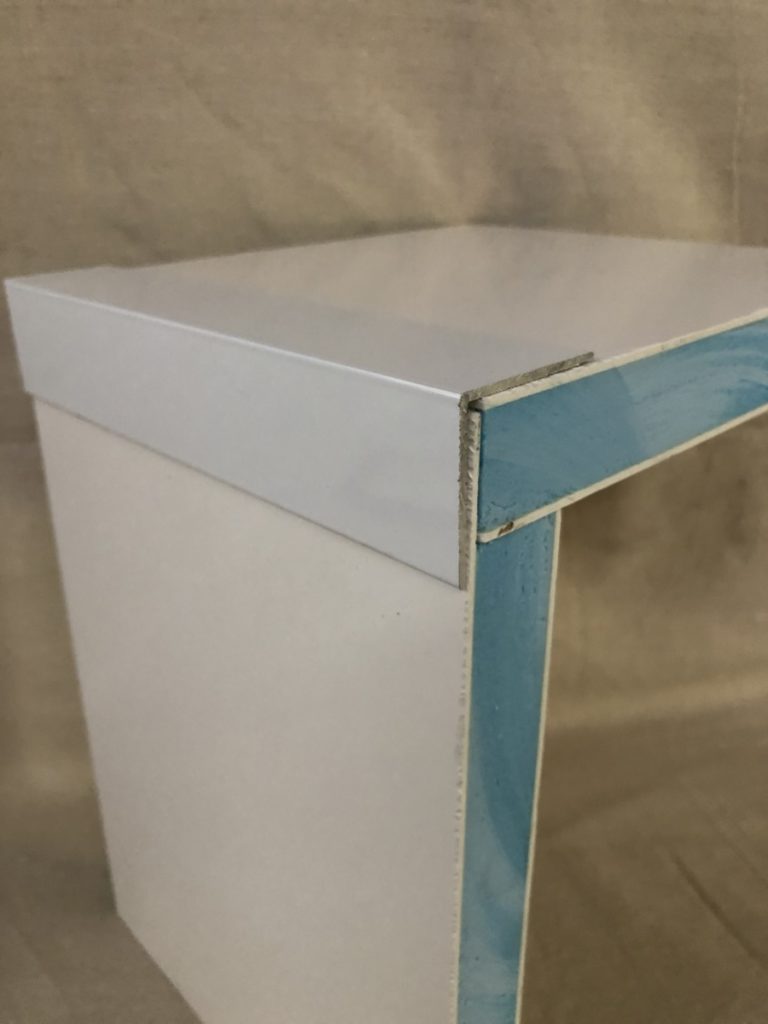
Once you decide to build your project using one-piece Composite Panels, one of the next decisions is how do you intend to join the panels together.
There are 3 proven ways of doing this and each method is detailed below.
1. The DIY Panel Joiner System
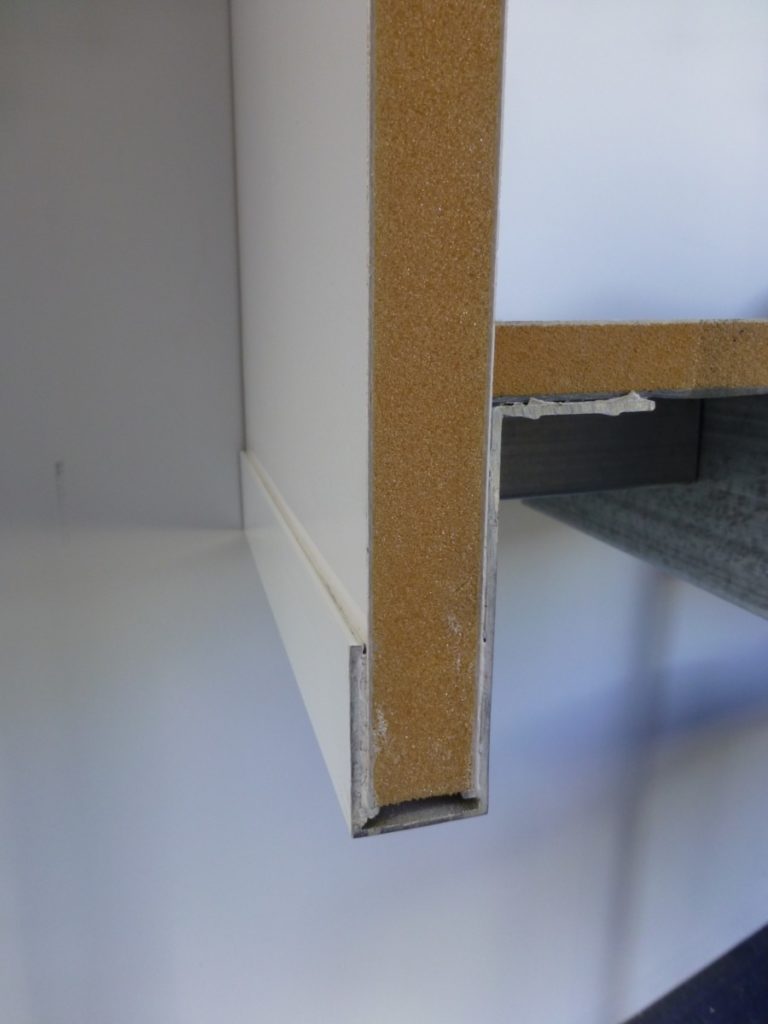
The DIY Panel Joiner system uses a range of special aluminium extrusions to join the panels together and also attach the panel system to the trailer chassis.
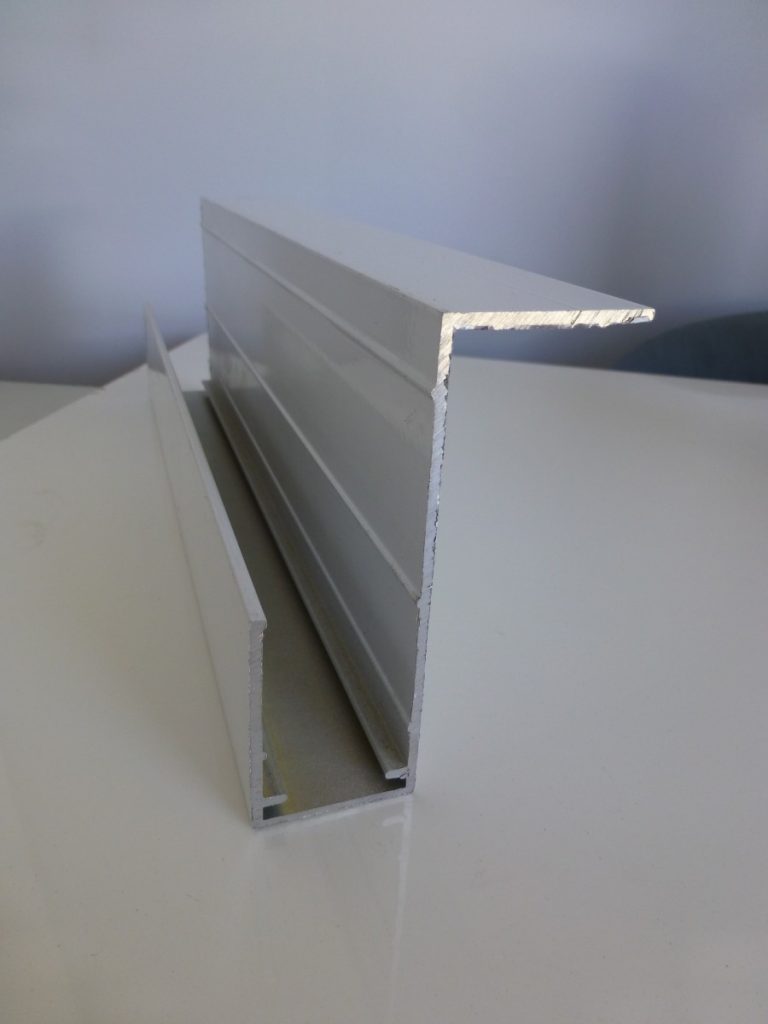
DIY Floor joiner 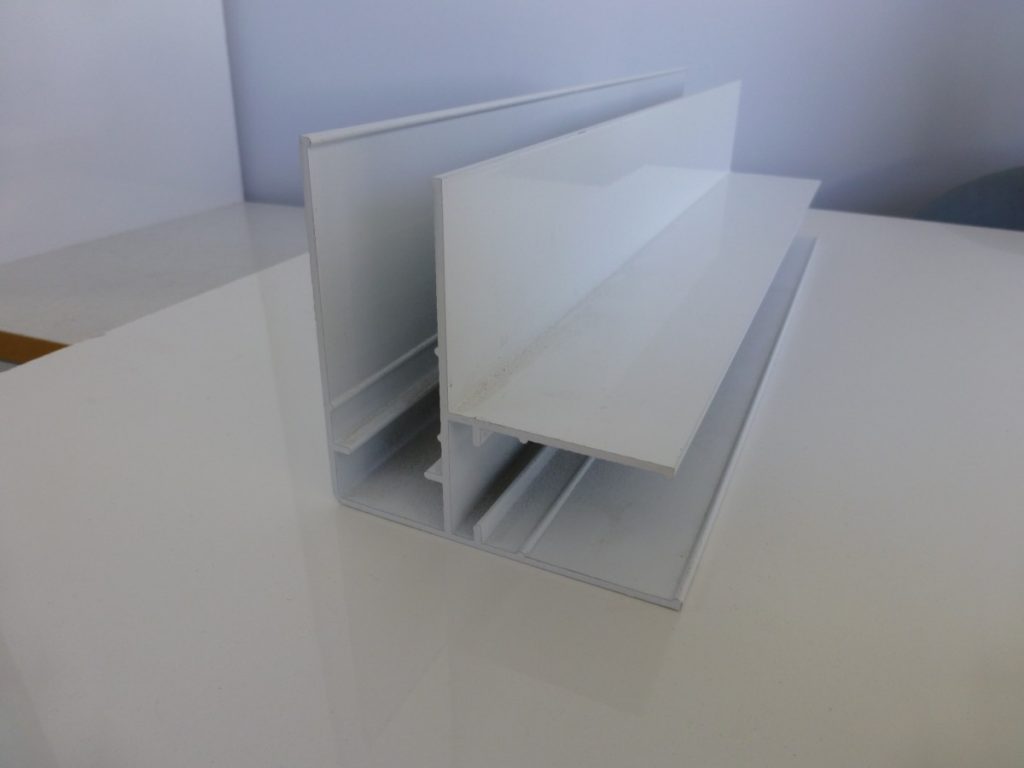
DIY Wall Joiner
Click here to see the range of DIY Panel Joiners
This method has the following features:
- + Adds strength with the robust framework around all the panels
- + Ideal for off-road vehicles subjected to more movement
- + Provides strong fixing points internally and externally for other attachments eg awnings, internal components etc
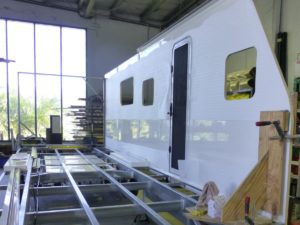
- + Floor panel ‘traps’ the floor joiner onto the chassis out-rigger system – see image below
- + Available in powder coated white finish so no trim required
- – Joiners are designed for panels up to 29mm thick
- – Doing a rolled radius roof and front is more complex but possible
Choosing DIY Panel Joiners will affect the exact sizes of each individual panel. Click here for details of how to calculate Panel dimensions using DIY Panel Joiners
DIY Design note: Please note the Panel Joiner wall 29-29 can be used either way round – DIY recommends you design your project with the roof panel ‘over’ the wall panel – ie as shown above – and then follow this principle for the front wall and rear wall panels. The orientation of the panel joiner will also affect the precise dimensions required for each panel and how it goes together.
DIY Roof Corner Caps are also available to provide a water-tight seal at the top of the vertical joiners.
2. The Panel Rebate Method – standard
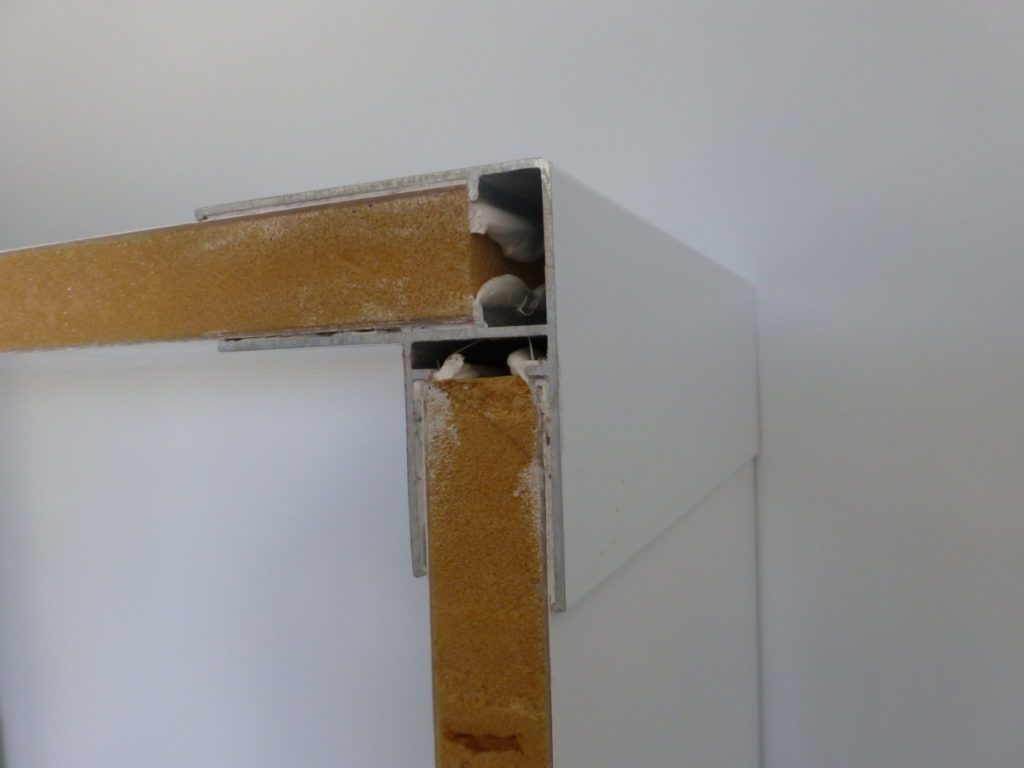
This method of joining panels involves cutting a rebate in one of the panels being joined – usually the wall panels – such that the other panel neatly fits into the rebate.
Aluminium trim – such as the 40x40x1.6mm in the image below – is then used to secure the join using construction adhesive such as Fixtech.. We also recommend some aluminium trim on the inside of the join such as 20x20x1.6mm.
This method has the following features:
- + Simple to install and calculate panel dimensions (see below)
- + Ideal for on-road applications
- + Easy to do a rolled roof radius as long as the trim can be shaped to suit
- + Possible to use the DIY Floor Joiner around the chassis and use this rebate method for joining the walls
- – Less robust if going off-road
- – Only the adhesive between the angle trim and the GRP skin has any real purchase. Adhesive on XPS core has little strength.
DIY Design note – For dimensions it is usual to rebate to within 1-2mm of the inside of the external skin (eg cut 26mm deep if using 29mm panel) and use a blade to remove the adhesive. This avoids the adhesive clogging up the cnc router. The height of the rebate cut should be no more then the panel thickness (eg 29mm)
3. The Panel Rebate Method – premium
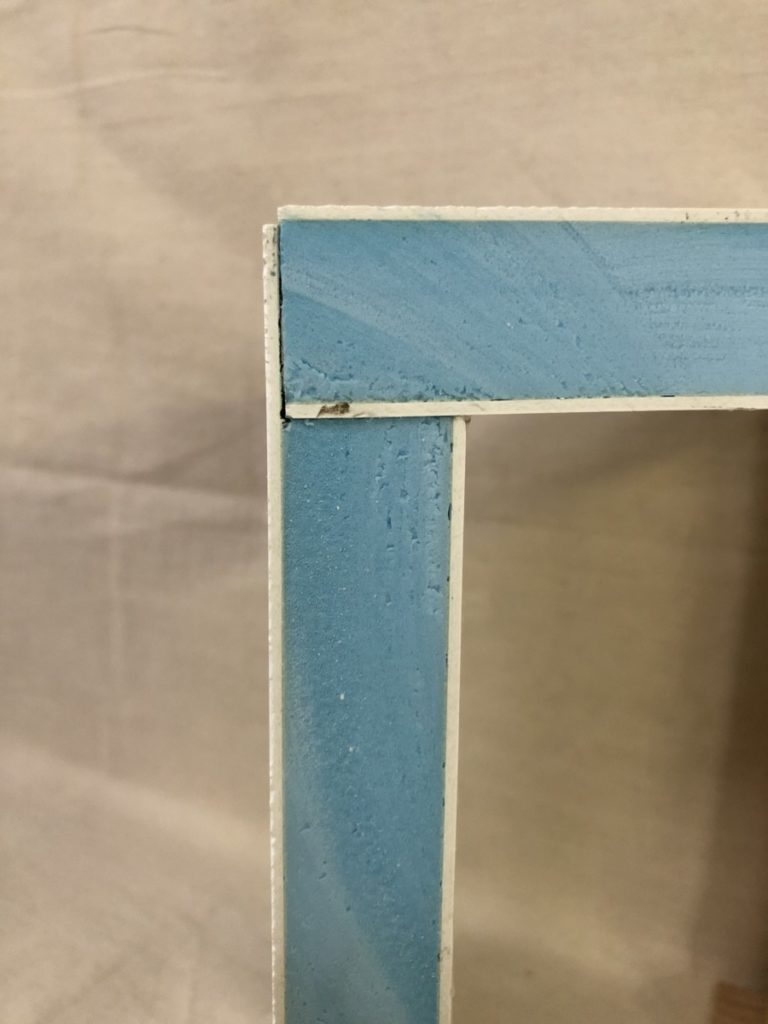
Building on the standard Rebate Method detailed above, this technique has the additional feature of Hi-density pvc insertions along the edges of the composite wall panels to be rebated eg side walls front, rear and top, rear wall along the top edge.
Note that the rebate shape in the insertion leaves 2mm of hi-density pvc attached to the outer skin for extra strength. In addition the adhesive attaching the roof panel into the rebate is now gluing roof panel grp skin to hi-density pvc achieving better strength.
Similiar to the other rebate method an aluminium trim is required to complete the join using construction adhesive such as Fixtech.
One of the key advantages of this method is that if you choose to use the Truline caravan trim (as opposed to 40mm angle) we now have proper screw purchase into the Pvc insertions. Once the screws are all in place this trim can be neatly covered with a plastic infill. It can also easily be rolled around a radius up to 300-400mm if your design involves a rolled roof panel.
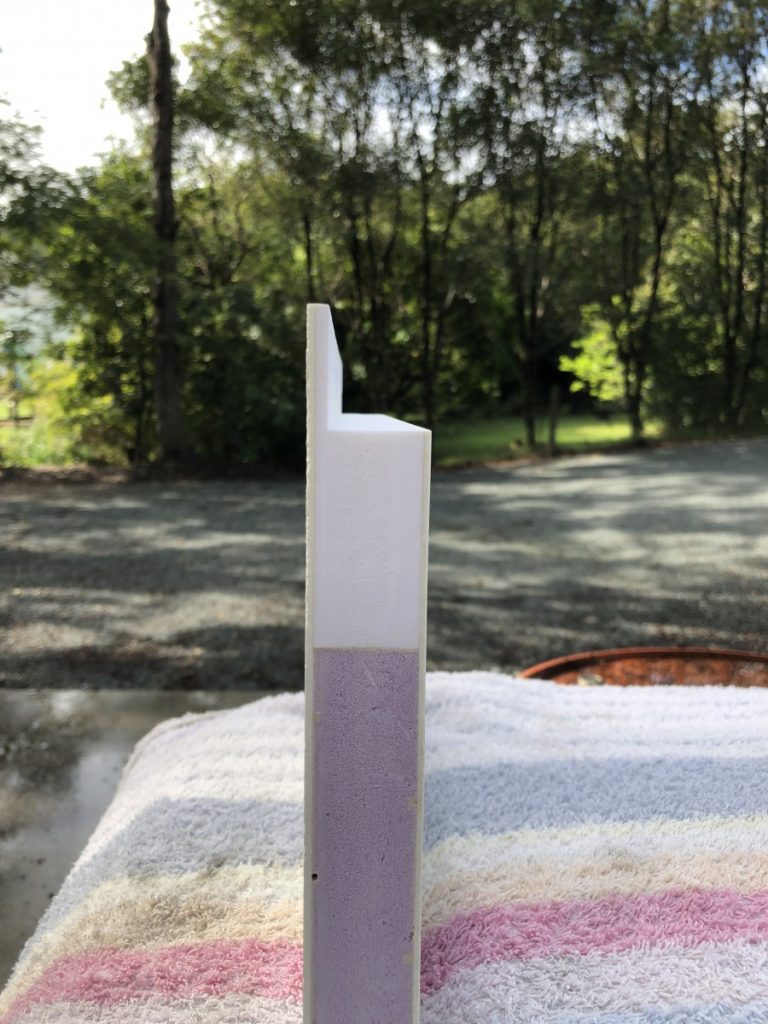
Rebate in wall panel 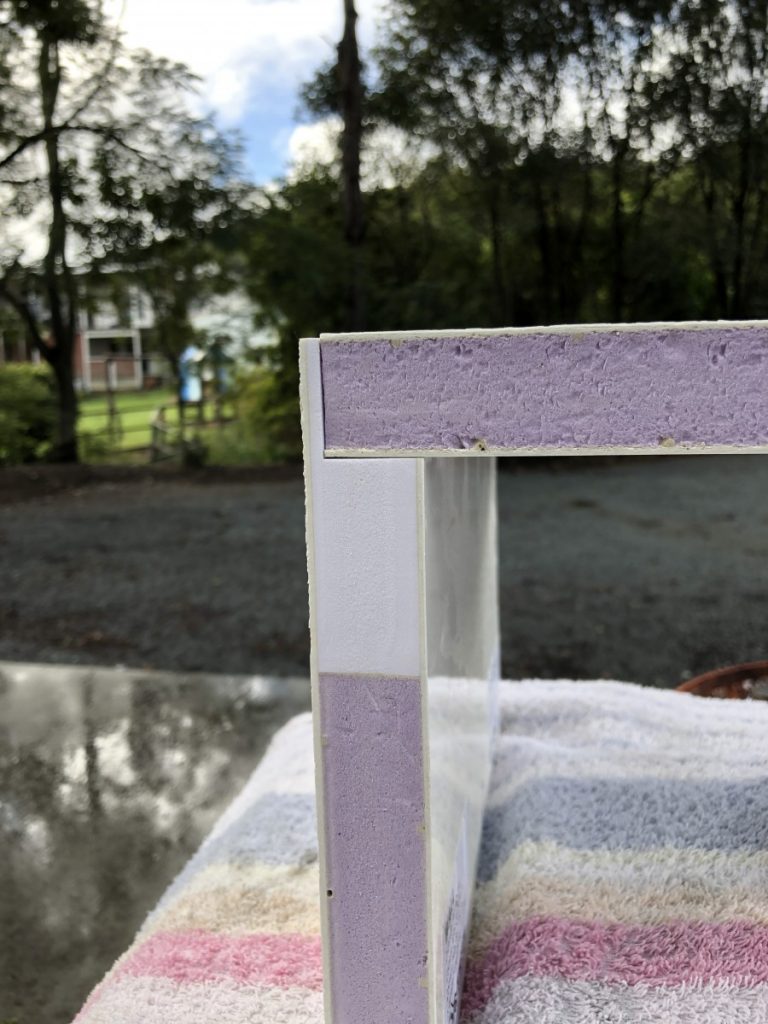
Roof panel in place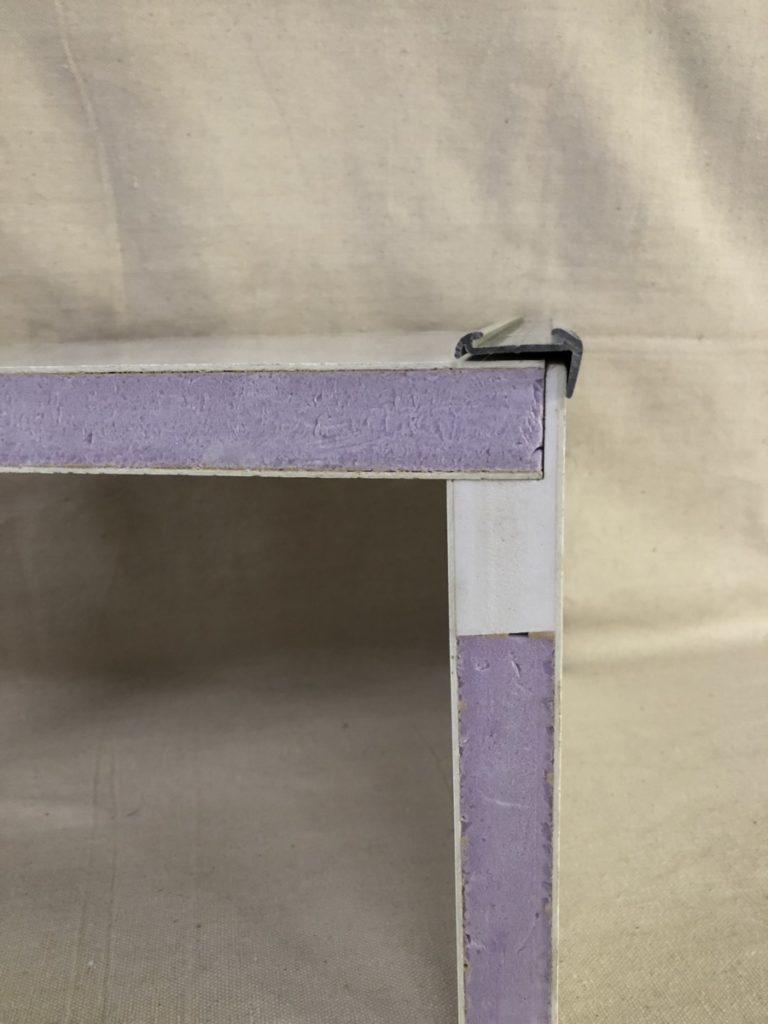
Rebate with Truline trim
This method has the following features:
- + Simple to install
- + Extra strength from adhesive in joins for moderate off-road applications
- + Easier to do a rolled roof radius
- + Possible to use the DIY Floor Joiner around the chassis and use this rebate method for joining the walls
- – PVC insertions only possible with XPS core panels
DIY Design note – For dimensions it is usual to rebate 24-25mm deep (if using 29mm panel) leaving 4mm including the outer skin. The height of the rebate cut should be no more then the panel thickness (eg 29mm). Also note the rebate dimensions will determine the correct size of panel for the roof.


